How to Remove Mercedes Sprinter Rear Brake Disc
Tinkering with a Mercedes Sprinter extends beyond the realm of rudimentary automotive know-how. Among the crucial maintenance tasks is the extraction of the rear brake disc. This endeavor, seemingly daunting at first glance, necessitates an appreciation of the intricacies involved — touching on the type of proficiency required. So let’s explore Mercedes Sprinter rear brake disc removal.
Understanding the Complexity of Removing a Rear Brake Disc
Mercedes Sprinters command respect for their resilience and performance. However, preserving these virtues demands a certain level of expertise. The task of extracting Sprinter Rear Brakes isn't as plain sailing as it might seem with other vehicles. It requires a surgeon's precision, some high-tech gadgetry disguised as tools, and a PhD-level understanding of the car's braking system.
Designed to keep you safe and smooth on the road, the Mercedes Sprinter rear brakes system is as impressive as a cat landing on its feet. Constituents such as the rear brake disc intricately intertwine with other elements in the braking system. A solitary misstep could jeopardize brake performance, thus underscoring why expertise isn’t a luxury, but a necessity.
Step-by-Step Guide to Removing a Rear Brake Disc
For the mechanically inclined who want to tackle this task head-on, armed with confidence and curiosity, here are the steps to perform a Mercedes Sprinter rear brake pad replacement. Caution, however, must be extended. This is a guide and not an invitation to bypass professional help, which offers assurance in both safety and precision.
Step 1: Assemble Your Arsenal
Ensure you have everything you need:
A diverse range of wrenches and sockets
A brake caliper apparatus
A torque wrench
Robust jack stands and floor jack
A rubber mallet or hammer
Brake cleaner
Step 2: Prioritize Safety
Park the van on a level surface—no one likes a wobbly ride. Engage the parking brake and give the front wheels a snug hug with chocks. Hoist the rear with a floor jack and let jack stands take it from there. Ready, set, wrench.
Step 3: Wheel Removal
Deploy a wrench or an impact driver to unscrew the lug nuts and dislodge the rear wheel, thereby providing access to the brake assembly.
Step 4: Carefully Detach the Brake Caliper
Locate the brake caliper and unleash your inner mechanic by unscrewing the bolts with a socket wrench. Gently slide the caliper off the brake disc like a pro, and give it a cozy wire hammock to avoid stressing the brake line.
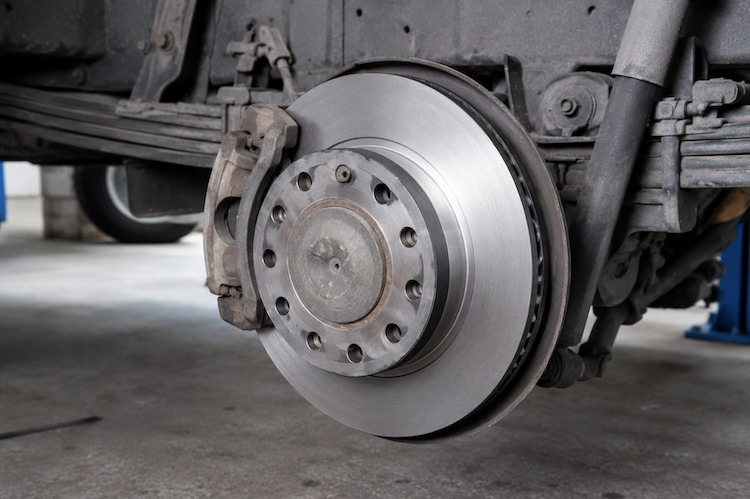
Step 5: Extracting the Brake Disc
It might be necessary to rid the caliper bracket to fully access the brake disc. Use your rubber mallet gently to tap the disc to loosen it. Patience is a virtue here, particularly if rust or debris impede your progress. Once loosened, slide the disc off the hub with care.
Step 6: Inspect, Clean, and Replace
Before introducing a new brake disc, scrutinize the hub for any signs of damage or wear. Use the brake cleaner to remove any debris. Reenact the removal steps in reverse to fit the new disc, ensuring all components are torqued to the manufacturer's specifications.
Final Word
The removal of Sprinter rear brake pads or discs is a meticulous endeavor calling for precision and expertise. This guide offers an overview, but the importance of professional expertise can't be overstated in upholding vehicle safety and performance standards. If the task seems daunting, never hesitate to consult a professional mechanic. After all, prime brake condition is the linchpin of your safety on the road. You want Mercedes Sprinter rear brake pads and discs that work effectively at all times!
Read Our Other Blog: How to Repair Sun-Damaged Car Paint