How to Fix Paint Chips on a Car Using Touch-Up Paint
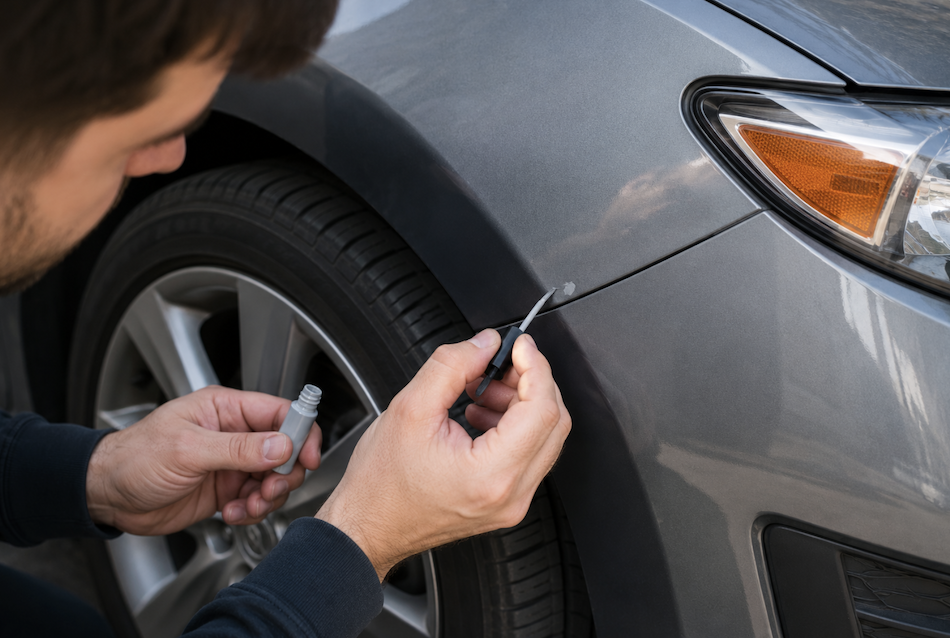
A rock kicks up on the freeway, taps your hood, and leaves behind a tiny fleck of bare metal. It doesn't look like much. But that small spot is exactly where rust gets its start, and once oxidation sets in under the clear coat, a five-minute fix turns into a repaint. The good news is that most paint chips are well within reach of a careful DIY repair. With the right prep, the right layers, and a little patience, you can fix paint chips on a car using touch-up paint and get a result that holds up for years, not just until the next car wash.
This guide walks through the full process: figuring out whether a chip is a touch-up job or a body shop job, finding your exact paint code, prepping the surface correctly, and applying paint and clear coat the way a technician would. We'll also cover the mistakes that make most DIY touch-ups look worse than the original chip, and what Arizona's climate specifically does to unrepaired paint damage.
Why a Small Chip Is Worth Fixing Right Away
Modern automotive paint is built in layers: a base coat, a color coat, and a clear coat on top, all sitting over a coat of primer and bare sheet metal. A paint chip breaks through one or more of those layers, and once metal is exposed to air and moisture, corrosion can begin within days, not months.
In Peoria and the surrounding Valley, that timeline moves even faster. Intense UV exposure oxidizes the paint around an open chip, and repeated heating and cooling of the body panel through the day causes the edges of the chip to lift slightly, letting moisture and dust work their way further under the coating. What starts as a pinhead-sized chip in spring can be a visible rust halo by the following summer. Catching it early is the difference between a fifteen-minute touch-up and a panel respray.
There's also a resale consideration. Buyers and appraisers notice paint condition immediately, and a hood or fender covered in small chips signals neglected maintenance even if the rest of the car is in excellent shape. If you want a broader picture of how different kinds of paint damage should be handled, this guide to common types of car paint damage and how to fix them breaks down chips, scratches, fading, and swirl marks side by side.
Is This a Touch-Up Job or a Trip to the Body Shop?
Not every mark in your paint is a candidate for a touch-up bottle. Before you buy anything, run a quick assessment:
The fingernail test. Drag your fingernail gently across the damage. If it doesn't catch, you're likely dealing with a shallow chip through the clear coat, an easy touch-up candidate. If your nail catches on the edge, the chip has gone deeper and will need more careful prep.
Size matters. Chips smaller than a pencil eraser respond well to touch-up paint. Anything larger, or damage that runs in a line rather than a small dot, behaves more like a scratch and may need a different approach.
Check for rust. Any orange or brown discoloration inside the chip means corrosion has already started. Touch-up paint applied directly over active rust will fail within months, so this needs to be treated first.
Multiple chips in one area. A cluster of chips on a hood or bumper, often from highway driving or gravel roads, is usually better handled as one panel repair rather than a dozen individual spot fixes.
If your damage falls outside these boundaries, it's worth reading up on how to fix a deep scratch on a car, since the prep steps overlap closely with what a deeper chip repair requires.
Find Your Car's Exact Paint Code
This step gets skipped more often than any other, and it's the single biggest reason DIY touch-ups end up looking mismatched. Every manufacturer assigns a specific paint code to your vehicle, and ordering "silver" or "black" touch-up paint by color name alone is a guess, not a match.
The code is usually printed on a sticker in the driver's door jamb, though placement varies: some brands put it in the glovebox, on the radiator support under the hood, or inside the trunk. It's typically a short alphanumeric code, three to five characters. Order your touch-up paint using that exact code, not the marketing name of the color, since the same color name can shift slightly between model years. If you drive a BMW, this step-by-step guide to applying BMW touch-up paint covers exactly where to find the "Farbcode" sticker and how to read it.
Once you have your paint, test it on an inconspicuous spot, like inside the door jamb, before touching the visible chip. Paint can look slightly different once it's dried and clear-coated compared to how it looks in the bottle.
Gather Your Supplies
Having everything within reach before you start keeps the repair moving while each layer is still workable. You'll want:
Touch-up paint matched to your exact paint code
Automotive primer (needed only if the chip reaches bare metal or plastic)
Clear coat, in a bottle or pen to match your paint applicator
A fine-tipped brush, toothpick, or the applicator that comes with the paint
1500 to 2000-grit sandpaper for feathering the repair
Wax and grease remover or isopropyl alcohol
Clean microfiber cloths
Painter's tape to mask off the surrounding area
Rubbing compound and polish for the final blend
Rust converter, if any surface corrosion is present in the chip
Skip generic hardware-store paint and stick to automotive-grade products matched to your paint code. The cost difference is minor, and the finish difference is significant.
Step-by-Step: How to Fix Paint Chips With Touch-Up Paint
Step 1: Clean the Area Thoroughly
Wash the damaged panel with car soap and water, then dry it completely. Follow with a wipe of wax and grease remover or isopropyl alcohol directly over the chip. Any leftover wax, road grime, or oil will prevent the new paint from bonding, and this is the step most DIY jobs shortcut.
Step 2: Sand and Assess the Chip
If the chip is shallow and hasn't broken through to metal, a light pass with 2000-grit sandpaper is enough to smooth any rough edges. If the chip goes down to bare metal, sand gently to remove any loose paint or surface rust, then wipe away the dust with a clean cloth. Work in one direction rather than a circular motion to avoid creating new marks in the surrounding clear coat.
Step 3: Apply Primer if the Metal Is Exposed
If you can see bare metal or plastic at the bottom of the chip, apply a thin layer of primer with a toothpick or fine applicator, staying strictly within the boundaries of the chip. Let it dry fully according to the product's instructions, usually 20 to 30 minutes, before moving on. Shallow chips that haven't broken through the clear coat can skip this step entirely.
Step 4: Build the Paint in Thin Layers
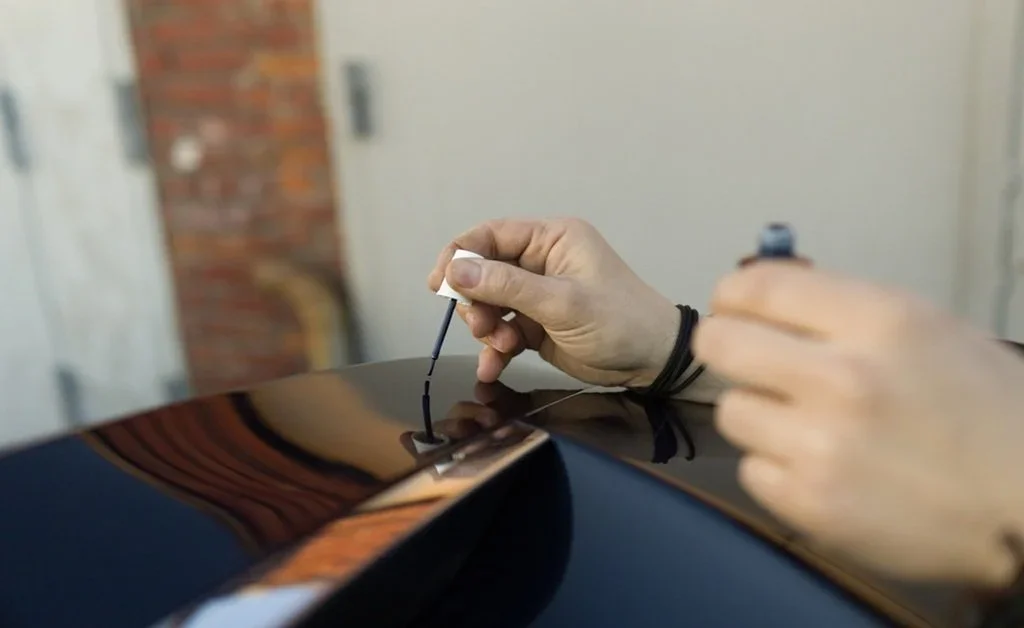
This is where patience pays off. Shake the touch-up paint well, then apply a thin coat directly into the chip using your brush or applicator, working from the center outward. Let each layer dry before adding the next, typically 20 to 30 minutes per coat depending on the product. Two or three thin layers will always look better and last longer than one thick application, which tends to crack or sink as it cures. Build the paint up until it sits just slightly above the surrounding surface. It will settle and can be leveled during the finishing steps.
Step 5: Seal With Clear Coat
Once the color coat is fully dry, usually after 24 hours, apply a thin layer of clear coat over the repair. This protects the new paint, restores the gloss, and helps the repair blend visually with the surrounding panel. Let this cure fully before handling the area again.
Step 6: Cure, Wet-Sand, and Polish
Give the repair 48 to 72 hours to cure fully before doing any further work on it. Once cured, wet-sand the area lightly with 2000-grit sandpaper to level the repair with the surrounding paint, then follow with a rubbing compound and polish to bring back the shine and blend the edges. Avoid washing the car or driving through rain for at least a few days after the repair to give the paint time to fully harden.
A Note for Peoria and Arizona Drivers
Arizona's climate changes the calculus on DIY paint repairs more than most people expect. Surface temperatures on a dark-colored panel can climb well above 120°F during summer afternoons, and touch-up paint applied in direct sun or on a hot panel won't flow or level correctly, leaving a rough, uneven patch. Try to work in the shade, early morning or evening, and check that the panel itself feels cool to the touch before you start.
The same heat that complicates application also accelerates the damage of an unrepaired chip. UV exposure oxidizes paint faster here than in milder climates, so a chip you're planning to "get to eventually" tends to develop that telltale white oxidation ring within weeks rather than months. This is especially worth watching on European imports, where factory paint and clear coat formulations can behave differently under extreme heat than domestic vehicles. If you're weighing a DIY fix against a professional repair on Mercedes-Benz, or want a second opinion on a repair that isn't sitting right, it's worth having a technician who works on European vehicles take a look before the damage spreads.
Common Mistakes That Ruin a Touch-Up Repair
A few habits show up again and again in touch-ups that don't hold up:
Skipping the wax and grease remover step. Paint applied over invisible contamination looks fine for a week, then starts lifting at the edges.
Applying one thick coat instead of several thin ones. Thick paint takes longer to cure evenly and is far more likely to crack or sag.
Rushing the drying time between coats. Each layer needs to be genuinely dry, not just dry to the touch, before the next goes on.
Skipping primer over exposed metal. Paint doesn't bond well to bare metal on its own, and the repair will lift sooner without it.
Overfilling the chip. Paint that sits well above the surrounding surface is difficult to level later without sanding through the repair itself.
Ignoring rust that's already present. Painting over active corrosion traps moisture underneath, and the repair fails from the inside out.
How to Prevent Future Paint Chips
A little prevention goes a long way toward keeping your touch-up kit in the drawer:
Keep distance from gravel trucks and construction zones. Most rock chips happen from following too closely on loose-surface roads or behind trucks hauling aggregate.
Consider paint protection film on high-impact areas. A clear film on the front bumper, hood edge, and mirror caps absorbs the impact that would otherwise chip factory paint.
Wash and inspect regularly. Catching a fresh chip during a routine wash means a five-minute fix instead of a corroded spot six months later.
Wax or seal your paint on a regular schedule. A maintained wax or sealant layer adds a small amount of protection against minor debris and makes existing chips easier to spot.
Regular inspection matters beyond just paint, too. A routine look-over during oil changes or seasonal maintenance tends to catch small issues, paint chips included, before they become expensive ones.
When to Call a Professional
DIY touch-up paint is a great solution for small, shallow chips, but some situations call for a body shop instead of a bottle of paint:
The chip or cluster of chips covers a large area or a body line
Rust has already spread beneath the paint
The damage reaches through multiple layers to structural metal
Color matching is critical, such as on a newer vehicle or one you plan to sell soon
A previous DIY attempt didn't turn out the way you hoped
Getting a sense of realistic timelines can help you decide which route makes sense before you start. This breakdown of how long auto body repair typically takes is a useful starting point if you're trying to plan around a repair.
Cost is usually the other deciding factor, and it depends on more than just the size of the chip. This overview of what influences auto body repair costs breaks down the variables worth understanding before you get a quote.
For higher-value vehicles, the calculation shifts a bit further toward professional repair. Porsche owners weighing that decision can get a second opinion through our Porsche service center in Peoria, where paint correction is handled with an eye toward protecting resale value.
Protecting Your Investment
Fixing a paint chip isn't just a cosmetic errand. It's the cheapest insurance you'll ever buy against rust, and it's a small habit that keeps your car looking cared for years down the road. The process rewards patience: clean thoroughly, prep carefully, build thin layers, and give the repair time to cure before you judge the result.
If a chip on your vehicle looks more serious than a quick touch-up, or you'd simply rather have a trained technician handle it, the team at Arrowhead Imports is happy to take a look and walk you through the right next step for your car.
Frequently Asked Questions
How Long Does Touch-Up Paint Take To Dry On A Car?
Each thin coat of touch-up paint typically needs 20 to 30 minutes to dry before you apply the next layer. The color coat should cure for about 24 hours before you add clear coat, and the full repair needs 48 to 72 hours to cure completely before wet-sanding, polishing, or washing the car.
Can You Use Touch-Up Paint On Deep Paint Chips?
Touch-up paint works best on chips smaller than a pencil eraser that haven't broken through multiple layers. For deeper chips that expose bare metal over a wider area, or where your fingernail catches on the edge, primer is essential first, and a professional repair will usually give a cleaner, more durable result.
How Do I Find My Car's Exact Paint Code?
Your paint code is usually printed on a sticker inside the driver's door jamb, though some manufacturers place it in the glovebox, trunk, or engine bay. It's a short alphanumeric code specific to your vehicle's exact color and production year, so always match paint to this code rather than a general color name.
Will A Touch-Up Repair Affect My Car's Resale Value?
A well-executed touch-up protects resale value by stopping a chip from turning into rust or a larger repaint. A rushed or poorly blended repair, on the other hand, can actually stand out more than the original chip. If resale value is a priority, take the time to do it properly or have it done professionally.
How Many Coats Of Touch-Up Paint Should I Apply?
Most chips need two to three thin coats of touch-up paint to fill level with the surrounding surface. Thin layers dry more evenly and hold up better over time than one thick coat, which is more prone to cracking, sinking, or showing an uneven texture once cured.